
What are you looking for?
Installing an aluminum fence correctly starts long before the first post goes into the ground. Accurate layout, correct post spacing, stable footings, careful panel alignment and properly adjusted gates all affect how the finished fence looks and performs.
For contractors, builders and property owners, the basic process is similar across most aluminum fence systems: plan the layout, confirm post positions, prepare the holes, set the posts, install the panels, fit the gates and complete a final inspection. However, actual dimensions and installation details should always follow the fence system, project drawings, soil conditions and local requirements.
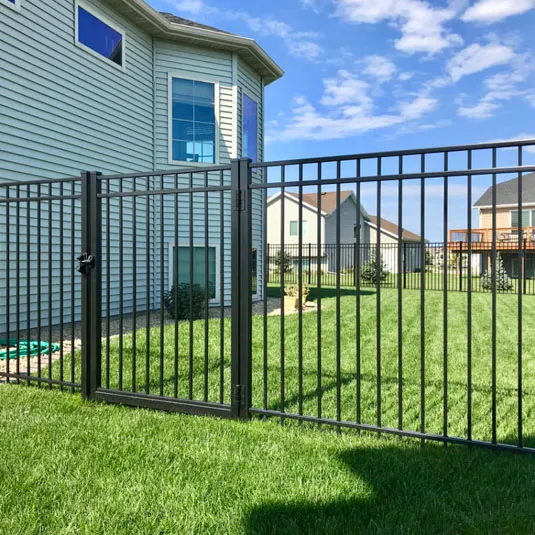
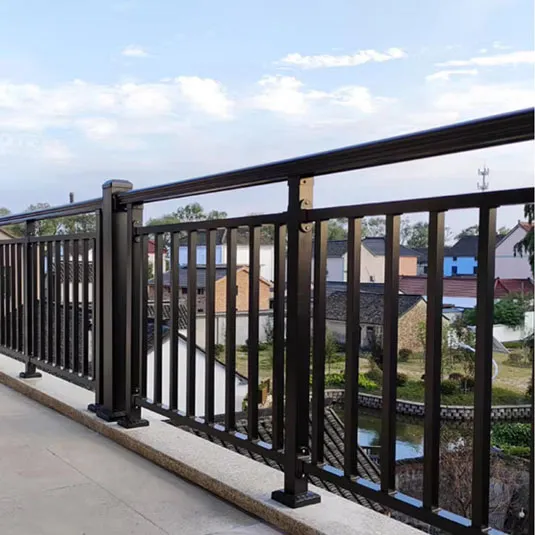
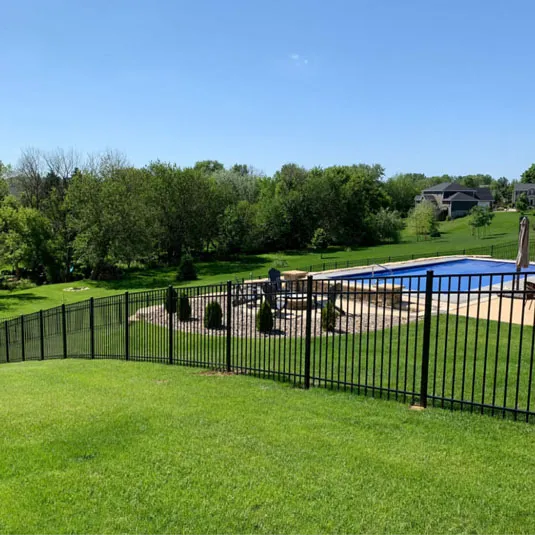
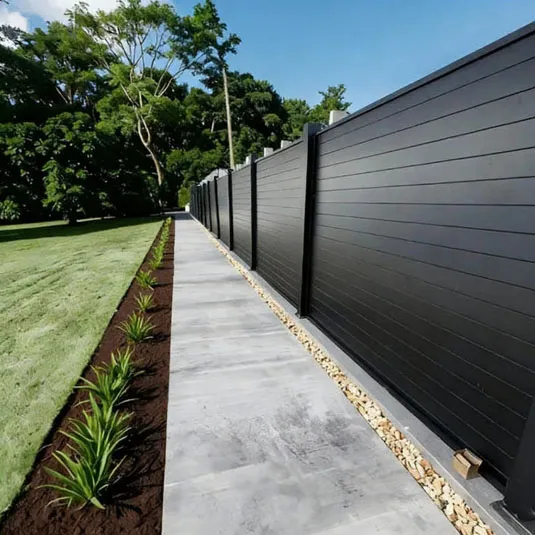
If you are still selecting the right panel configuration for a project, VTON's aluminum fence include residential, villa, balcony, modular and pool fencing for different installation environments.
A typical aluminum fence installation follows these main stages:
| Installation Stage | Main Task | Critical Check |
|---|---|---|
| 1. Site planning | Measure and mark the fence line | Boundaries, corners, gates and slopes |
| 2. Post layout | Determine post positions | Actual panel width and post system |
| 3. Hole preparation | Dig post holes | Soil, frost depth and underground utilities |
| 4. Post setting | Align and concrete posts | Level, plumb and consistent spacing |
| 5. Panel installation | Connect panels between posts | Height, alignment and clearances |
| 6. Gate installation | Install hinges and latch hardware | Swing, closing and post stability |
| 7. Final inspection | Check the complete fence line | Fasteners, alignment and operation |
The most common installation problems usually come from errors made during layout and post setting rather than from the aluminum panels themselves. A small spacing error at the beginning of a long fence run can create increasingly difficult alignment problems later in the project.
Before starting the installation, carefully measure the property and identify the locations of corners, gates, and end posts.
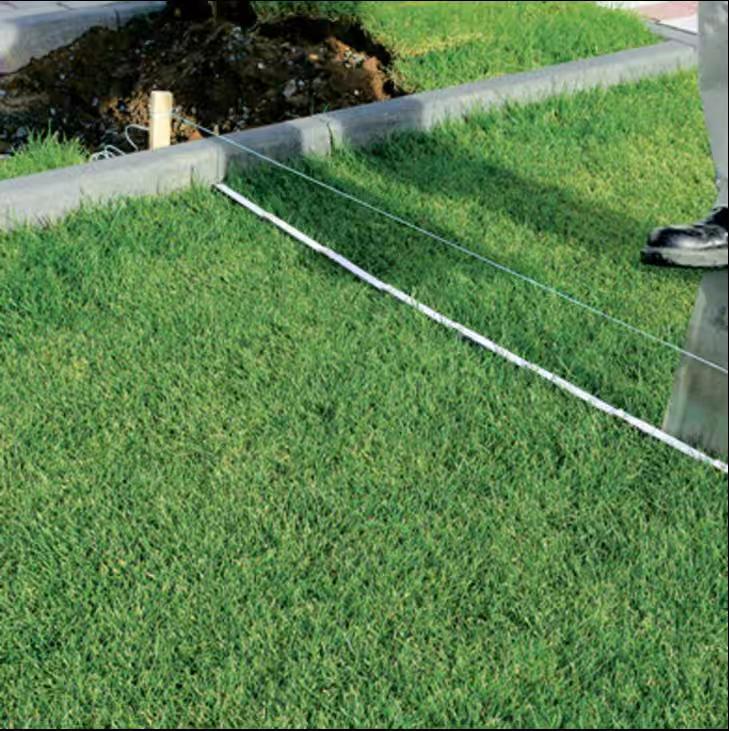
Use stakes and string lines to mark the fence route. Accurate measurements help prevent alignment issues and unnecessary material waste.
Most aluminum fence panels are designed for fixed spacing between posts.
Measure each panel and mark the exact location of every post before digging.
Double-check all measurements before proceeding.
Before digging post holes or confirming the final material order, contractors should estimate the expected aluminum fence installation cost, including fence panel quantity, post spacing, gate hardware, site preparation and labor requirements.
Fence posts provide the structural support for the entire system.
For most residential installations:
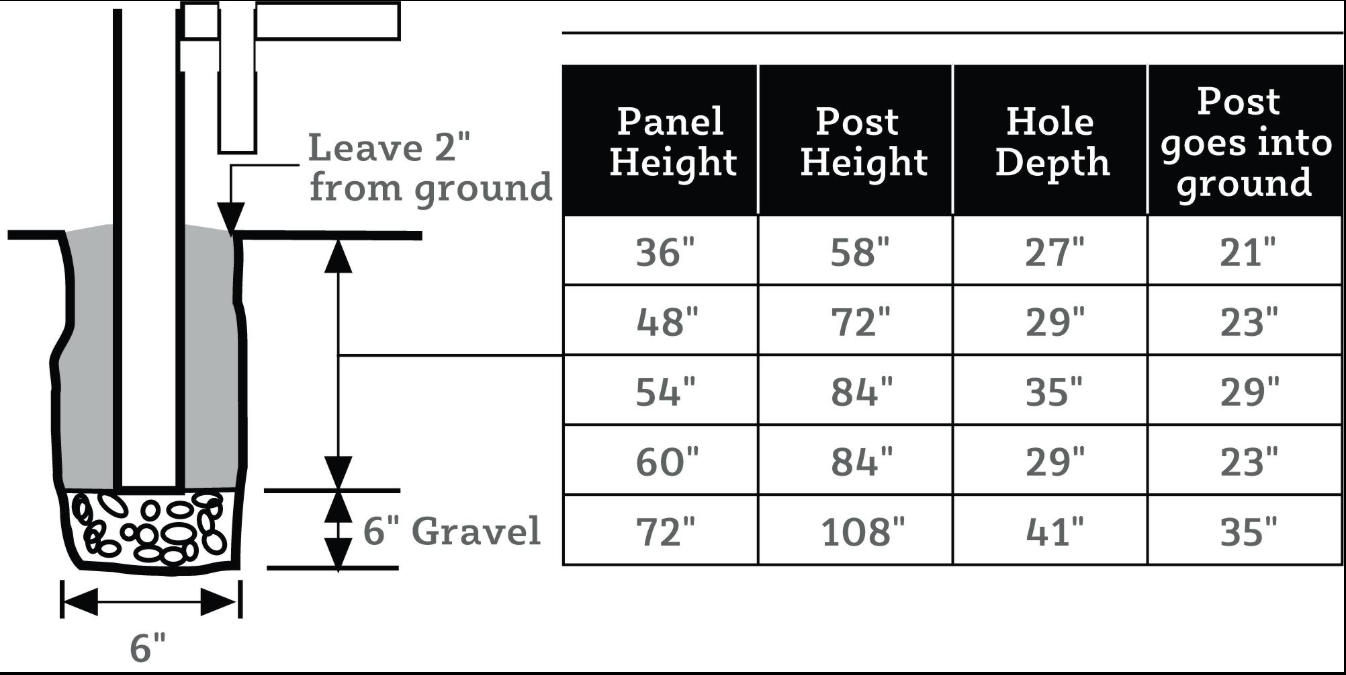
• Hole depth: 24–36 inches
• Hole diameter: 8–12 inches
• Use concrete for maximum stability
Always follow local building codes and frost-line requirements.
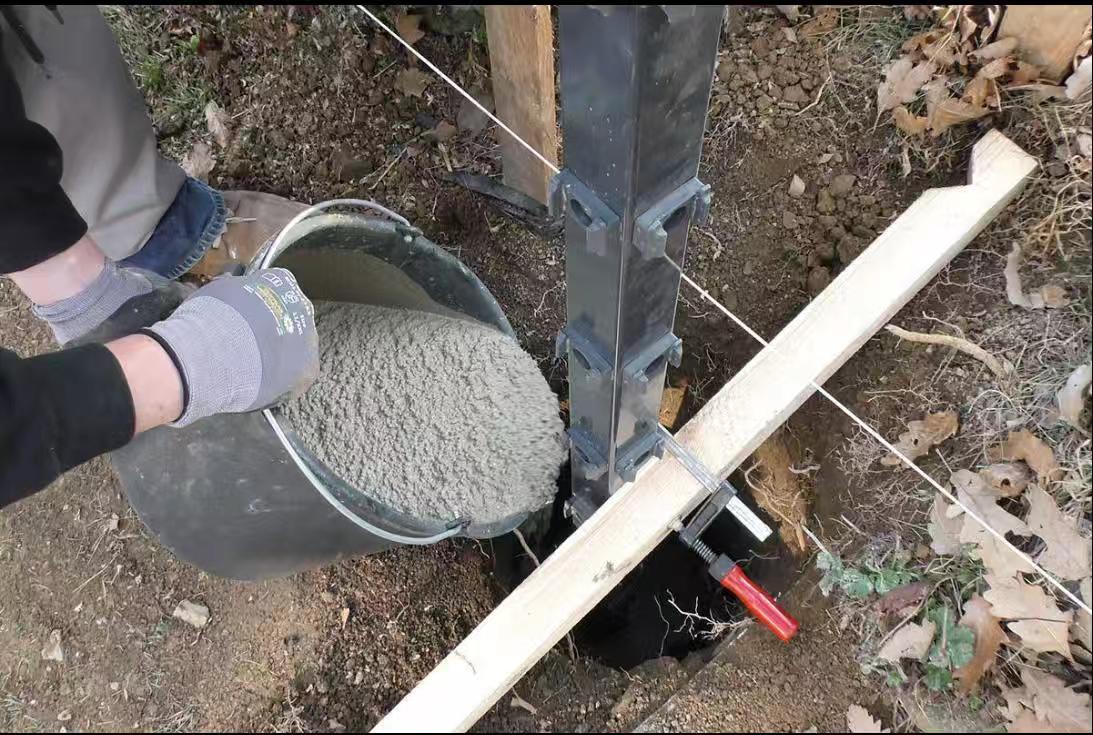
Place each post into the hole and ensure it is perfectly vertical using a level.
Pour concrete around the post and allow sufficient curing time before attaching panels.
Properly installed posts help prevent future leaning and movement.
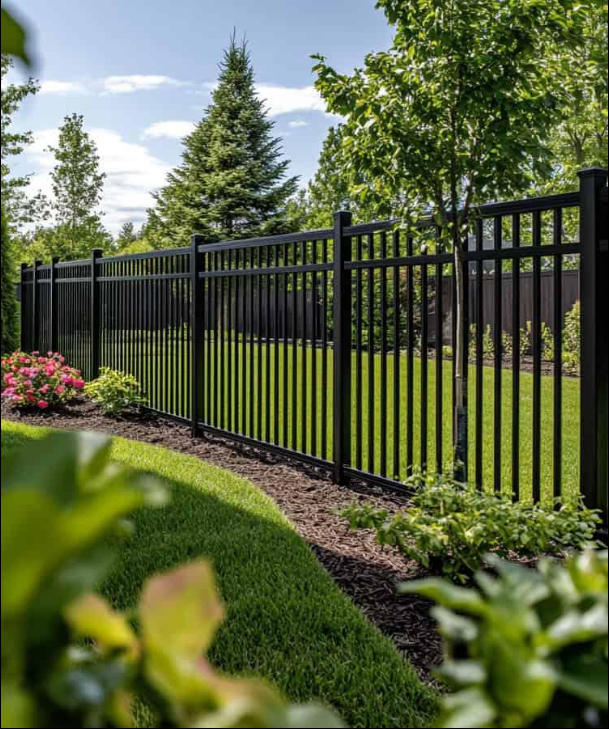
Once the posts are secure, attach the aluminum fence panels according to the manufacturer's instructions.
Check alignment regularly to ensure a straight and professional appearance.
Gate posts often require additional reinforcement due to frequent use.
Verify that:
• Hinges are level
• Gates swing freely
• Latches close securely
A properly installed gate improves both security and convenience.
Walk the entire fence line and inspect:
• Panel alignment
• Fastener security
• Gate operation
• Overall appearance
A properly installed aluminum fence can provide decades of reliable performance with very little maintenance.
For a broader quality-control checklist, see our professional fence installation tips.
Before digging, confirm exactly what needs to be installed.
Measure the total fence length and identify corner posts, end posts, gate openings, changes in direction and changes in ground level. For larger projects, divide the fence line into separate runs rather than treating the entire perimeter as one continuous measurement.
A basic installation drawing should show:
panel widths and heights;
post locations and post types;
pedestrian and vehicle gate openings;
corners and changes in direction;
slopes, retaining walls or stepped sections;
finished ground level;
any special mounting conditions.
For custom or imported fencing, this becomes especially important because the manufactured panel dimensions and the planned post spacing must match. VTON explains this in more detail in our guide on why fence drawings matter when ordering custom fencing.
Do not assume that a nominal 2400 mm or 8 ft panel automatically means the same centre-to-centre post spacing. Brackets, post dimensions, panel insertion depth and mounting method can all affect the final layout.
The exact tools depend on the fence system and site, but a typical installation may require a tape measure, string line, stakes, spirit level or laser level, post-hole digger or auger, shovel, concrete, drill, appropriate fasteners, clamps and gate-adjustment tools.
Contractors should also keep the manufacturer's panel drawings or installation specifications available on site. When multiple crews are working on one project, using the same approved dimensions helps prevent different teams from applying different post spacing or gate-opening measurements.
Start by locating the beginning and end of each fence run.
Drive stakes at the main reference points and use a string line to establish a straight installation line. Then mark corners, gate openings and intermediate post positions according to the actual panel system.
This is also the stage to identify changes in elevation.
If the ground slopes, decide before digging whether the fence will:
follow the slope using a rackable or adjustable system;
step down in sections;
use custom panels or posts for the slope.
Trying to solve a slope only after posts have been concreted usually creates unnecessary rework.
For Australian backyard and pool projects with changing ground levels, see our guide to installing fencing on sloped backyard sites.
One of the most common questions in aluminum fence installation is: How far apart should aluminum fence posts be?
There is no single spacing that applies to every aluminum fence.
Post spacing should be calculated from the actual panel width and the manufacturer's connection system. Brackets, post dimensions and required installation clearances must all be included.
For example, two fence systems may both be described as 2400 mm panels but require slightly different post centres because one panel fits between the posts while another uses external brackets.
A safer installation method is:
confirm the actual panel dimension;
confirm bracket or fixing allowances;
mark the first two post positions;
test the spacing with the real panel or approved drawing;
continue the remaining layout only after the first section is confirmed.
This is especially important for long commercial fence runs. Even a small repeated measurement error can produce a significant mismatch by the time the installer reaches the final gate or corner.
Before excavating post holes, check for underground utilities and site services.
For projects in the United States, installers should contact 811 before digging so buried utility lines can be identified before excavation begins. Projects outside the U.S. should follow the equivalent local utility-location procedure.
This step should be completed before final post-hole positions are approved.
Utilities can affect not only safety but also the fence design itself. If a proposed post position conflicts with an underground service, the installer may need to adjust panel widths, post spacing or the gate layout rather than simply moving one post independently.
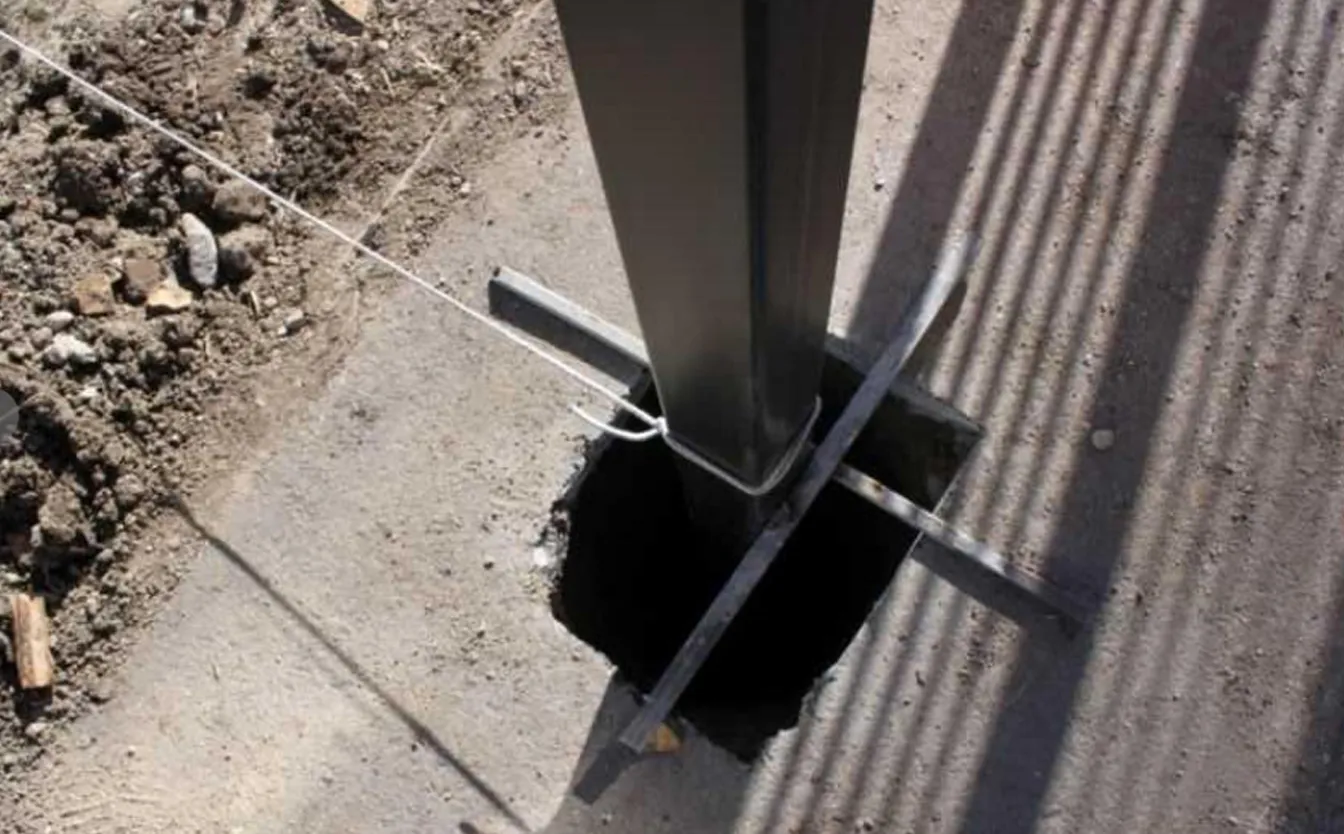
Once the layout has been confirmed, excavate the post holes.
Many residential aluminum fence installations use holes approximately 24–36 inches deep, but this should be treated only as a common range—not a universal specification.
The required depth and diameter depend on factors such as:
fence height;
post dimensions;
soil conditions;
local frost depth;
wind exposure;
gate loads;
project engineering;
local building requirements.
Gate posts and high-load sections may require different footing dimensions from intermediate line posts.
Loose, disturbed or waterlogged soil may also require a different footing approach from stable ground. On commercial or engineered projects, use the project footing details rather than a generic residential rule.
Post installation is usually the most important stage for the final appearance of an aluminum fence.
Place the post into the prepared hole and check that it is plumb in both directions. Confirm its height against the finished ground level and the planned panel position.
Before the concrete sets, check:
post-to-post spacing;
post verticality;
alignment with the string line;
finished height;
corner orientation;
gate-opening dimensions.
Do not rely only on one post looking straight from a distance. Check each post with a level and repeatedly recheck the fence line while the concrete is still adjustable.
For long runs, a laser or carefully tensioned string line can help maintain a consistent alignment.
Avoid treating concrete curing as one fixed number of hours for every project.
Concrete strength development depends on the mixture, temperature, moisture conditions and curing method. The American Concrete Institute's guidance on concrete curing explains that curing conditions play an important role in the development of concrete properties.
For fence installation, follow the concrete supplier's instructions and the project requirements before loading the post with panels or a gate.
This is particularly important for gate posts because repeated opening and closing introduces greater loads than a normal line post.
Once the posts are stable enough to accept the fence system, begin installing the panels.
Work from a confirmed reference point rather than randomly installing sections across the site.
Before fully tightening each panel, check its height and alignment with adjacent sections. This gives the installer some flexibility to correct small differences before the fasteners are locked in place.
A professional-looking fence should maintain:
consistent top-line alignment;
uniform ground clearance where the site allows;
even panel-to-post connections;
straight posts;
consistent spacing between adjoining sections.
If the site rises or falls, do not force a standard panel into an angle that the connection system was not designed to accommodate.
VTON's guide to common fence installation mistakes explains how poor layout, incorrect spacing and rushed post installation can cause visible problems even when the fence itself is manufactured correctly.
Gates require more careful installation than ordinary fence panels because they introduce movement and concentrated loads.
Before installing the gate leaf, confirm that the opening width matches the gate and hardware system. The gate posts must be stable, correctly spaced and vertically aligned.
After installing the hinges and latch, test the gate repeatedly.
Check that:
the gate swings freely;
the gate does not drag on the ground;
the top and bottom gaps are consistent;
hinges are secure;
the latch engages reliably;
the posts do not move when the gate operates.
A gate that appears correctly aligned when first installed may still require adjustment after the hardware is loaded.
For large projects, contractors should confirm gate dimensions and hardware before manufacturing begins rather than making opening adjustments on site.
Sloped sites require more planning than flat installations because the installer must manage both fence alignment and changing ground clearance.
There are three common approaches.
A rackable fence panel follows the slope while keeping the posts vertical. This can provide a smoother visual line, but the panel and connection system must be designed for the required angle.
Panels remain level but are installed at progressively different elevations. This works with many standard fence systems but creates triangular gaps beneath panels where the ground drops.
For more complex sites, custom dimensions or specially designed sections may provide better control over gaps and alignment.
The right method depends on fence style, slope angle, site safety requirements and the appearance expected by the customer.
For contractors, slope information should ideally be included in the project drawing before panels are ordered.
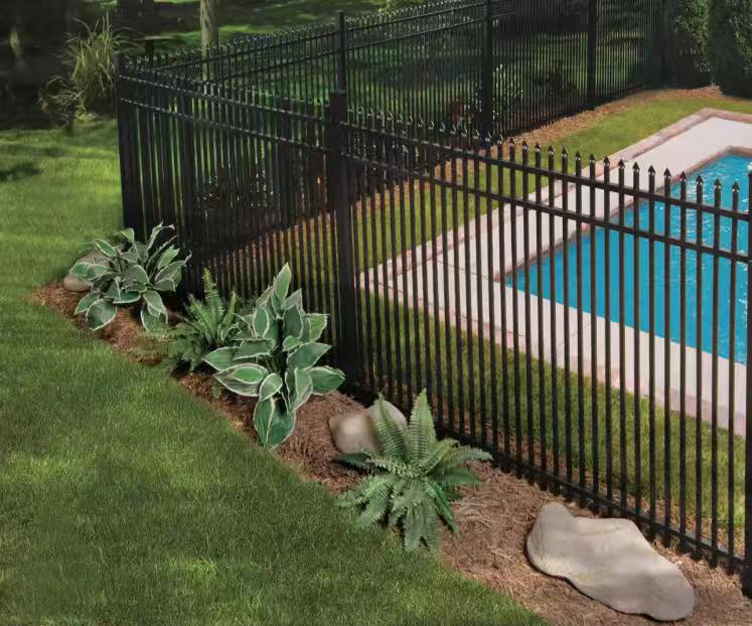
Installing an aluminum pool fence involves more than creating a straight and stable fence line. Barrier height, openings, gate operation, climbable zones and local safety requirements may all affect the installation.
For Australian projects, Standards Australia published the revised AS 1926.1:2024 swimming pool safety barrier standard, which addresses the design, construction, components and performance of pool safety barriers, including updated guidance relating to non-climbable zones and gate components.
Because regulatory adoption and enforcement can vary by location, contractors and property owners should also verify current state, territory and local requirements before installation.
VTON's detailed AS1926.1 pool fence guide explains the standard in more detail.
When selecting the physical barrier system, project buyers can also review our aluminum swimming pool fence options, including panel, gate, height and finish configurations for different project requirements.
Pool fence installation should include a specific check of:
barrier height;
openings between components;
clearance beneath the barrier;
gate direction and operation;
self-closing and latching performance where required;
surrounding climbable objects;
changes in ground level;
local inspection requirements.
Do not assume that using a product described as a “pool fence” automatically makes the finished installation compliant. Compliance depends on the complete installed barrier, including its location, gate, hardware and surrounding environment.
Most aluminum fence installation problems are preventable.
One common mistake is marking every post location before confirming the real panel spacing. Another is setting several posts in concrete before checking whether the first panel fits correctly.
Other frequent problems include placing gate posts too close together, ignoring a slope until installation begins, loading fresh concrete too early and using the ground surface as the only reference for fence alignment.
Contractors can reduce these problems by using one confirmed reference section at the start of each fence run.
Install and verify the first pair of posts and one panel before repeating the spacing across the rest of the site.
Installation cost depends on much more than the price of the fence panel.
Site access, soil conditions, total fence length, number of gates, slope, footing requirements, local labor rates and removal of an existing fence can all affect the final project cost.
A straight fence installed on accessible, level ground is normally easier to estimate than a project with multiple gates, retaining walls and steep changes in elevation.
For a detailed breakdown intended for contractors and project buyers, see our aluminum fence installation cost guide.
For importers and contractors, it is also important to calculate installation requirements before finalising the material order. Missing posts, brackets or gate hardware can create much greater delays than the value of the missing component itself.
Before installation starts, the contractor should be able to answer five questions clearly:
Does the panel spacing match the approved drawing?
Do not calculate post centres from a product photo or nominal panel name.
Have underground services been checked?
Utility conflicts should be identified before excavation.
Are gate openings confirmed?
Gate posts, hardware and swing direction should be coordinated before the posts are set.
Has the slope been planned?
Decide whether the project will rack, step or use custom sections.
Are all components on site?
Check panels, line posts, corner posts, gate posts, brackets, fasteners, hinges and latches before crews begin installing a long fence run.
Good preparation reduces the amount of adjustment required after posts have already been concreted.
A successful aluminum fence installation depends on coordination between manufacturing and installation. Panel dimensions, post spacing, gate openings, slope conditions and accessories should ideally be confirmed before production begins—not corrected after the container or materials arrive on site.
For distributors, contractors and project buyers, VTON can supply aluminum fence panels, posts, gates and related components based on project dimensions and drawings. Providing the total fence length, required heights, gate openings, site drawings and finish requirements helps the supplier prepare a more accurate system for installation.
If you are planning a residential, pool, villa or commercial fencing project, review VTON's aluminum fence range or contact the team with your project drawing and required quantities.
Many residential projects use post holes around 24–36 inches deep, but the correct depth depends on fence height, soil, frost depth, wind exposure and local requirements. Engineered and commercial projects should follow their project footing details.
Post spacing should match the actual fence panel and connection system. Do not assume that the nominal panel width is automatically the correct centre-to-centre post spacing.
The posts should be stable enough to accept the load before panels or gates are installed. Concrete curing depends on the concrete mixture, temperature and site conditions, so follow the concrete supplier and project requirements rather than relying on one universal waiting time.
Yes. Depending on the fence system and slope, panels may be racked, stepped or custom-made. Planning the slope before production and post installation usually produces a better result.
Aluminum components are generally lighter to handle than comparable steel components, which can simplify transport and on-site handling. However, correct layout, post setting and gate installation are still essential for a professional result.
No. “Aluminium” and “aluminum” refer to the same material; the spelling mainly varies by market. Australia and the UK commonly use “aluminium,” while the U.S. commonly uses “aluminum.” Installation principles remain the same.
The basic installation stages are similar to other aluminum fencing, but pool barriers require additional attention to barrier dimensions, gates, latches, non-climbable areas and local safety requirements. Always confirm the regulations applying to the project location before installation.